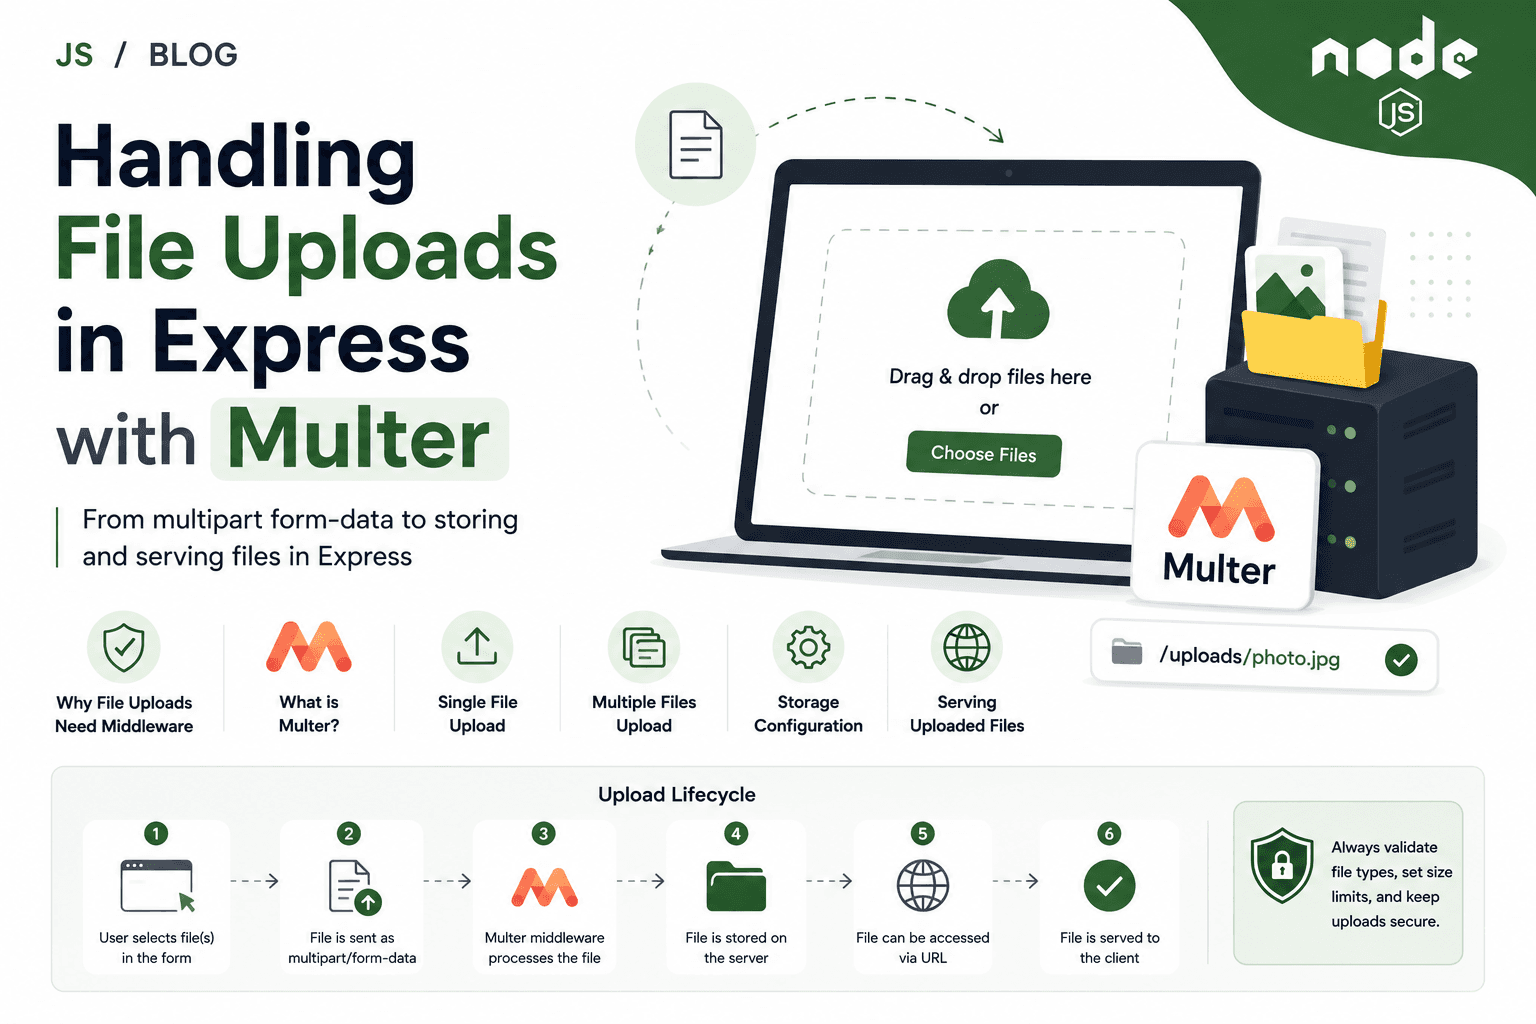

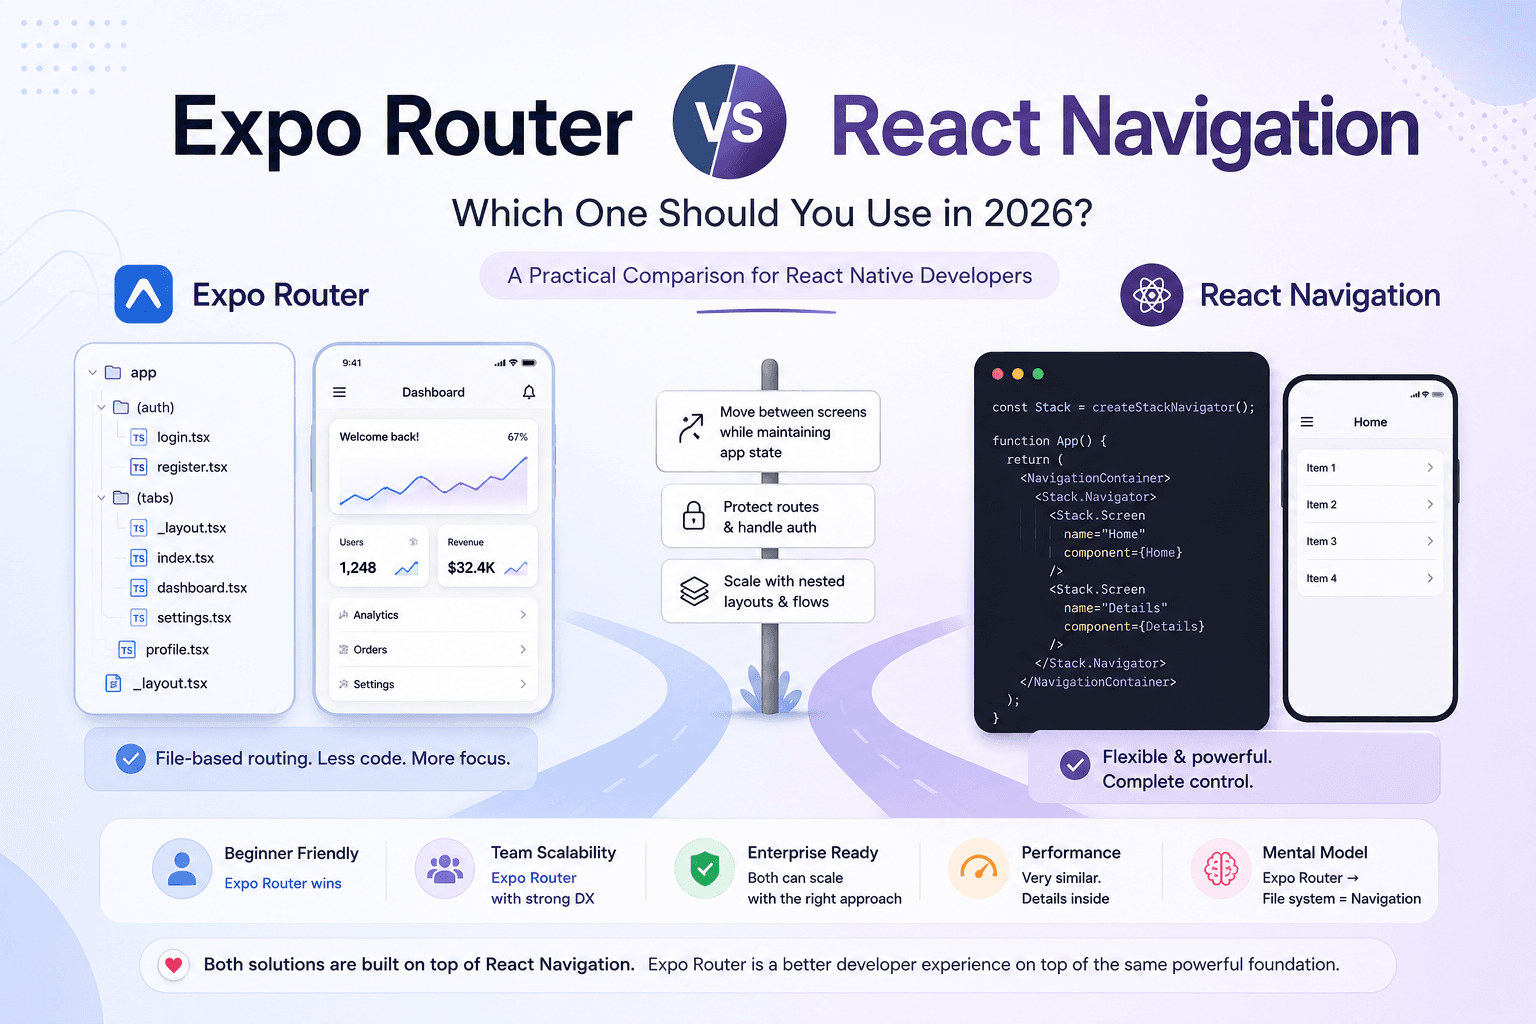
Expo Router vs React Navigation: Which One Should You Use in 2026?
If you've built even a small React Native app, you know the pain. You create five screens, then spend the next hour wiring up navigators — stack inside tab inside drawer — passing params, managing types, and hoping nothing breaks when you add screen number six.
Navigation is the backbone of every mobile app, and getting it wrong costs you hours of debugging and refactoring. So let's settle the big question for 2026: should you use Expo Router or React Navigation?
What Does Routing Even Mean in Mobile Apps?
Routing is simply moving between screens while maintaining app state. When a user taps a product in a list and lands on a detail page, that's routing. When they press "Back" and return exactly where they were — with their scroll position intact — that's routing doing its job well.
Unlike the web, where the browser handles URLs and history natively, mobile apps have no built-in concept of a URL or a navigation stack. Everything — screen transitions, back button behavior, tab memory, deep links — must be managed by a navigation library.
That's why choosing the right one matters so much.
React Navigation: The Long-Time Standard
React Navigation has been the default choice for React Native navigation since roughly 2017. Before it, developers juggled libraries like react-native-router-flux and ex-navigation, none of which offered a complete, well-maintained solution.
React Navigation changed the game by providing:
Stack, Tab, and Drawer navigators out of the box
A JavaScript-based navigation engine (no native linking required initially)
Strong community support and excellent documentation
How React Navigation Works
Everything is imperative and code-configured. You define navigators in JavaScript, nest them manually, and register every screen explicitly.
const Stack = createNativeStackNavigator();
const Tab = createBottomTabNavigator();

function HomeTabs() {
  return (
    <Tab.Navigator>
      <Tab.Screen name="Feed" component={FeedScreen} />
      <Tab.Screen name="Profile" component={ProfileScreen} />
    </Tab.Navigator>
  );
}

function App() {
  return (
    <NavigationContainer>
      <Stack.Navigator>
        <Stack.Screen name="HomeTabs" component={HomeTabs} />
        <Stack.Screen name="Settings" component={SettingsScreen} />
        <Stack.Screen name="ProductDetail" component={ProductDetailScreen} />
      </Stack.Navigator>
    </NavigationContainer>
  );
}
This works. It's flexible. But notice the cost: every screen must be imported, registered, and wired up manually. For ten screens, it's manageable. For fifty or a hundred, it becomes a maintenance nightmare — especially across a team.
Common Pain Points with React Navigation
Boilerplate explosion: Adding a screen requires editing multiple files (the screen itself, the navigator, the type definitions).
Deep linking is manual: You have to write a
linkingconfig that maps URLs to screen names — and keep it perfectly in sync.TypeScript params are tedious: You maintain a global
RootStackParamListtype that grows with every screen.No conventions: Every team structures navigators differently, making onboarding harder.
Nested navigators get confusing: Navigating between screens in different nested navigators requires understanding the full tree.
These aren't dealbreakers, but they add up. And that's exactly why Expo Router was created.
Expo Router: File-Based Routing for React Native
Expo Router was introduced to bring the simplicity of file-based routing (think Next.js) to React Native. It was first released in a beta form in 2022 and has matured significantly through 2023–2025.
Here's the critical thing to understand:
Expo Router is NOT a replacement for React Navigation. It is a layer built on top of React Navigation.
Under the hood, Expo Router still uses React Navigation's navigators, transitions, and state management. What it replaces is the manual configuration layer — the part where you wire everything up by hand.
How File-Based Routing Works
Instead of configuring navigators in code, your folder structure IS your navigation structure.
app/
├── _layout.tsx          → Root layout (Stack navigator)
├── index.tsx            → Home screen (/)
├── settings.tsx         → Settings screen (/settings)
├── (tabs)/
│   ├── _layout.tsx      → Tab navigator
│   ├── feed.tsx         → Feed tab (/feed)
│   └── profile.tsx      → Profile tab (/profile)
├── product/
│   └── [id].tsx         → Dynamic route (/product/42)
└── (auth)/
    ├── _layout.tsx      → Auth layout
    ├── login.tsx         → Login screen
    └── register.tsx      → Register screen
That's it. No imports. No manual screen registration. No linking config. Drop a file in the right folder, and it becomes a screen with a URL automatically.
Key Features of Expo Router Explained
Nested and Shared Layouts
The _layout.tsx file in any folder defines the navigator for that group. This is incredibly powerful:
// app/(tabs)/_layout.tsx
export default function TabLayout() {
  return (
    <Tabs>
      <Tabs.Screen name="feed" options={{ title: "Feed" }} />
      <Tabs.Screen name="profile" options={{ title: "Profile" }} />
    </Tabs>
  );
}
Shared UI like headers or sidebars can live in layouts, and every child screen inherits them automatically. You never manually nest a TabNavigator inside a StackNavigator again — the folder structure handles it.
Protected Routes and Authentication Flows
Authentication flows become remarkably clean. You use route groups (folders wrapped in parentheses) and redirect logic in layouts:
// app/_layout.tsx
export default function RootLayout() {
  const { isAuthenticated } = useAuth();

  if (!isAuthenticated) {
    return <Redirect href="/login" />;
  }

  return <Stack />;
}
The (auth) group holds login and register. The (tabs) group holds the main app. The root layout decides which group to show. No conditional navigator rendering. No isLoggedIn ? <AppStack /> : <AuthStack /> pattern.
Deep Linking for Free
Since every file maps to a URL, deep linking works out of the box. The route /product/42 maps to app/product/[id].tsx with zero configuration. Universal links, push notification deep links, and web URLs all resolve automatically.
Head-to-Head Comparison
Bundle Behavior
| Aspect | React Navigation | Expo Router |
|---|---|---|
| Screen loading | All screens imported eagerly (unless you manually lazy-load) | Supports automatic lazy bundling by route |
| Code splitting (web) | Manual setup required | Built-in for web platform |
| Tree shaking | Depends on your setup | Better defaults due to file isolation |
Navigation Transitions
Both use the exact same transition engine because Expo Router delegates to React Navigation underneath. You'll see identical animation quality and performance. The difference is purely in how you configure, not how things render.
Developer Workflow
| Task | React Navigation | Expo Router |
|---|---|---|
| Add a new screen | Create file → import → add to navigator → update types | Create file in correct folder → done |
| Set up deep linking | Write linking config manually | Automatic |
| TypeScript params | Maintain global param list | Auto-generated (with expo-router/typed-routes) |
| Refactor navigation structure | Edit navigator code across files | Move files/folders |
This is where Expo Router wins decisively. The feedback loop is shorter, and the chance of navigation-related bugs drops significantly.
Scalability: Small Apps to Enterprise
Beginner Perspective
Expo Router is easier to learn. If you can create a folder and a file, you can create a route. There's no need to understand the difference between a Stack.Navigator and a Stack.Screen before you can render your first two screens.
Team Scalability
With React Navigation, teams often end up with different navigation patterns in different parts of the app. Expo Router enforces conventions through the file system. A new developer can open the app/ folder and immediately understand the app's entire screen structure.
Enterprise Maintainability
For large apps with 50+ screens, Expo Router's folder structure acts as living documentation. You don't need to trace through navigator code to understand where a screen lives or how it's nested.
A real-world dashboard app structure might look like:
app/
├── (auth)/
│   ├── login.tsx
│   └── forgot-password.tsx
├── (app)/
│   ├── _layout.tsx              → Main tab navigator
│   ├── (dashboard)/
│   │   ├── index.tsx
│   │   └── analytics.tsx
│   ├── (orders)/
│   │   ├── index.tsx
│   │   └── [orderId].tsx
│   └── (settings)/
│       ├── index.tsx
│       ├── team.tsx
│       └── billing.tsx
└── _layout.tsx                   → Root stack + auth guard
Every developer on the team knows exactly where to find and add screens. That's a genuine productivity gain at scale.
When NOT to Use Expo Router
Expo Router isn't the right choice in every situation:
Bare React Native projects without Expo: Expo Router requires the Expo ecosystem. If you're running a bare
react-native initproject and cannot adopt Expo, React Navigation is your only option.Highly dynamic navigation: If your app builds its navigation tree from a server config (e.g., screens are defined by a CMS), file-based routing works against you. You need the imperative flexibility of React Navigation.
Brownfield apps: If you're embedding React Native inside an existing native iOS/Android app, Expo Router's assumptions about controlling the full navigation tree won't fit.
Custom native navigators: If you need deeply custom native navigation (e.g., custom iOS
UINavigationControllersubclasses), React Navigation withreact-native-screensgives you more direct control.You already have a large, well-structured React Navigation setup: Migration for its own sake isn't worth it. If your current setup works and your team is productive, don't rewrite.
What Are Teams and Companies Choosing in 2026?
The trend is clear: new Expo projects overwhelmingly adopt Expo Router. The Expo team has made it the default in create-expo-app, and the ecosystem (including EAS, Expo's build service) is optimized for it.
However, React Navigation remains heavily used in:
Legacy projects that pre-date Expo Router
Teams using bare React Native without Expo
Apps with complex, non-standard navigation patterns
Many companies run both — Expo Router for the main app structure, with occasional direct React Navigation APIs for edge cases. This works because Expo Router exposes the underlying React Navigation primitives when you need them.
Summary
| Choose Expo Router if... | Choose React Navigation if... |
|---|---|
| You're starting a new project in 2026 | You're in a bare RN project without Expo |
| You want less boilerplate | You need fully dynamic navigation from server configs |
| You want automatic deep linking | You're in a brownfield native app |
| Your team values conventions | You have an existing, working RN navigation setup |
| You're building for web + mobile | You need custom native navigator control |
For the vast majority of React Native projects in 2026, Expo Router is the better default. It gives you a faster development workflow, automatic deep linking, cleaner code, enforced conventions, and the full power of React Navigation underneath when you need it.
React Navigation isn't going anywhere — it's literally the engine powering Expo Router. But the way you interact with navigation has evolved. File-based routing is that evolution.
Start with Expo Router. Reach for raw React Navigation APIs only when the file system can't express what you need. That's the pragmatic approach for 2026.